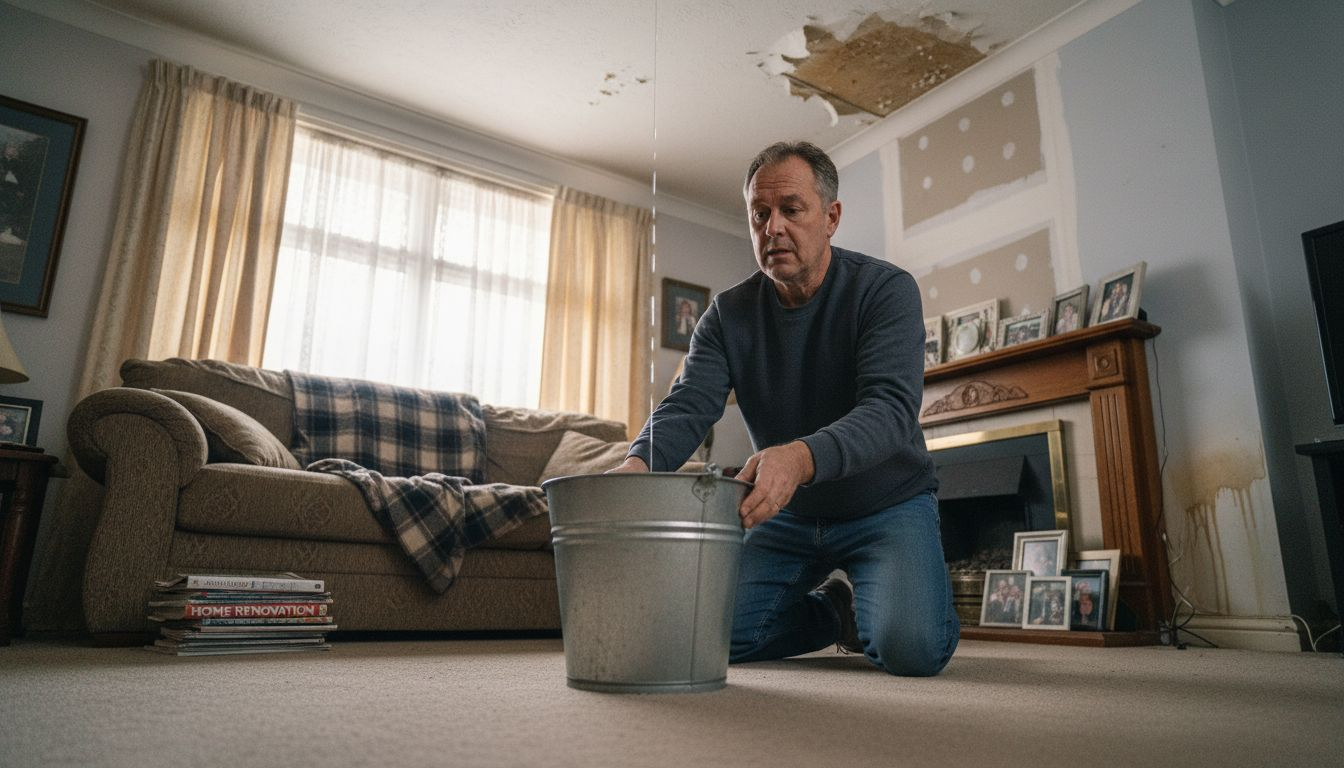


Over 5 million american homeowners tackle roof replacements each year, facing a process that can seem both overwhelming and costly. Choosing the right steps in order and preparing your materials properly protects your investment and delivers lasting results. Whether you are planning your first major home upgrade or just looking to avoid common mistakes, understanding each critical stage will help ensure your roof stands strong for years to come.
Table of Contents
- Step 1: Assess Roof Structure And Prepare Materials
- Step 2: Remove Old Roofing And Repair Decking
- Step 3: Install Underlayment And Flashing
- Step 4: Lay And Secure New Roofing Material
- Step 5: Inspect Completed Roof For Quality
Quick Summary
| Essential Insight | Explanation |
|---|---|
| 1. Assess your roof structure thoroughly | Inspect for damage and measure dimensions to ensure proper planning before installation begins. |
| 2. Prepare materials accurately | Gather necessary tools and order extra materials to account for waste and unexpected issues during the project. |
| 3. Remove old roofing carefully | Use appropriate tools and inspect the deck for damage before installing new materials to ensure stability and longevity. |
| 4. Install underlayment and flashing correctly | Follow precise techniques to create a watertight barrier that protects your home from moisture and enhances durability. |
| 5. Conduct a thorough final inspection | Check for uniformity, proper installations, and sealing to guarantee the roof’s effectiveness and prevent potential leaks. |
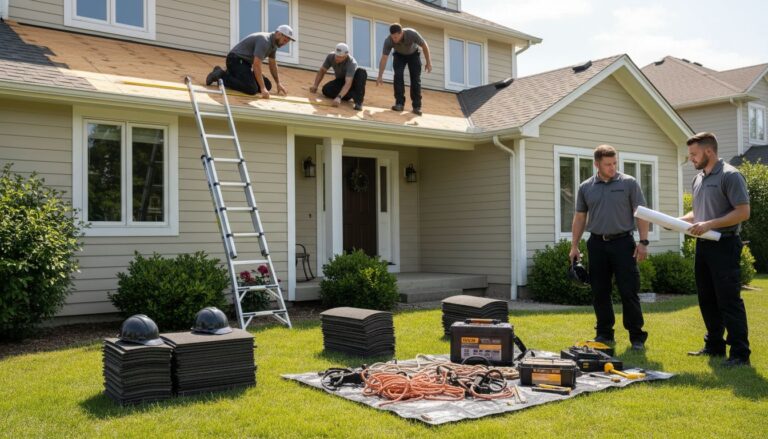
Step 1: Assess Roof Structure and Prepare Materials
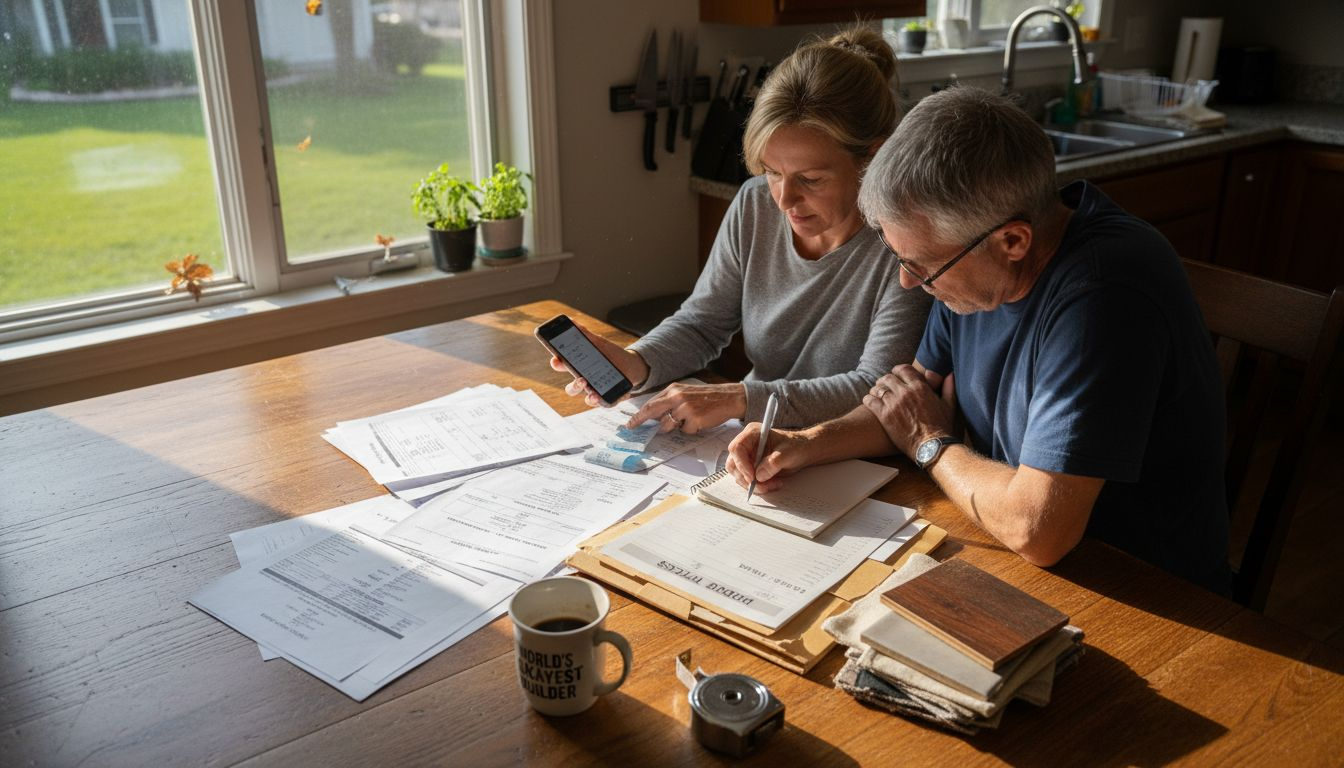
Before diving into your roofing installation project, a comprehensive assessment of your roof structure and careful material preparation are critical first steps. This initial phase sets the foundation for a successful and durable roof replacement that will protect your home for years to come.
Start by thoroughly inspecting your existing roof structure for any signs of damage, rotting wood, sagging areas, or structural weaknesses. Check the roof deck carefully for soft spots, water damage, or areas that feel unstable when walking. You will want to measure the roof dimensions precisely, calculating the total square footage and accounting for any complex architectural features like dormers or valleys. Pay special attention to the roof pitch and angle, as these factors significantly impact material selection and installation techniques.
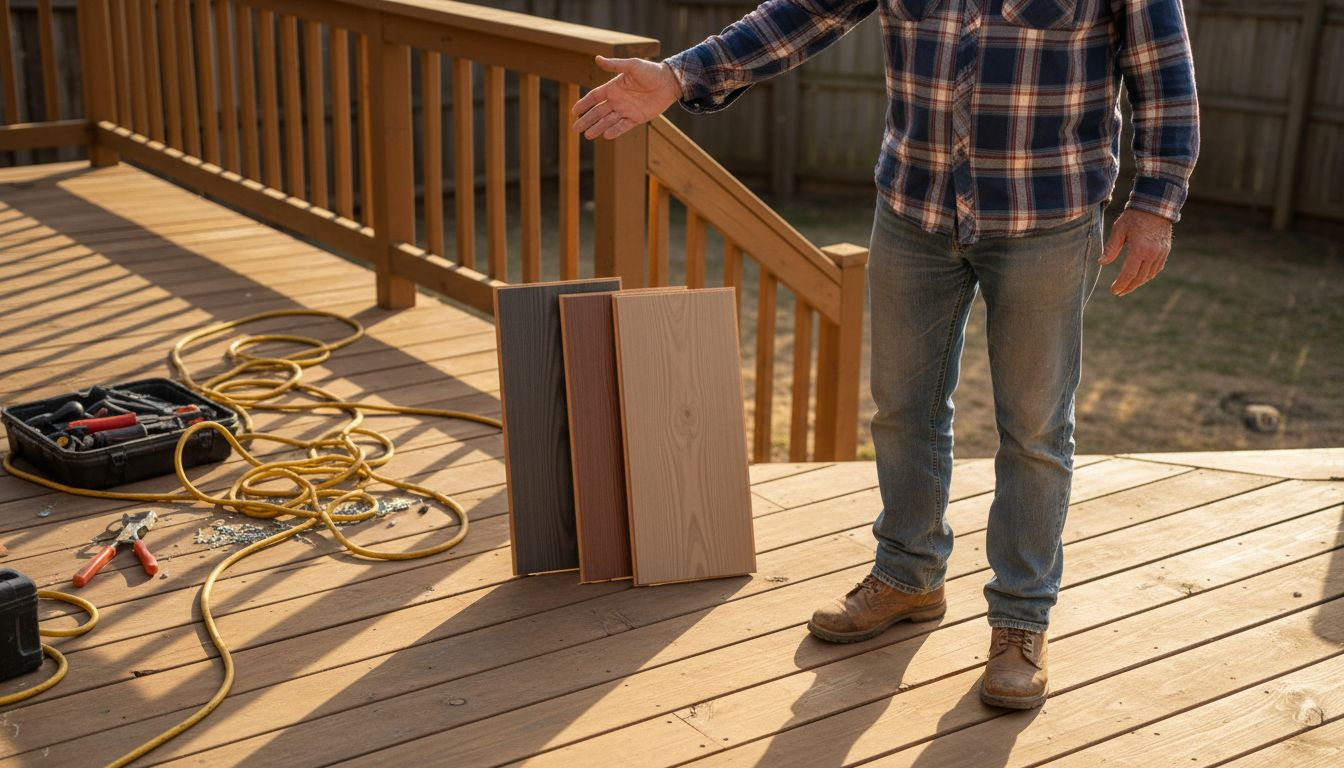
As you prepare your materials, gather essential equipment including safety gear like harnesses, non slip shoes, sturdy ladders, and protective eyewear. Collect necessary roofing tools such as nail guns, hammers, utility knives, chalk lines, and measuring tape. Select high quality roofing materials appropriate for your specific climate and home design. For homeowners wanting expert guidance on material selection, check out our guide on choosing the right roofing material.
Pro tip: Always order 10 to 15 percent more roofing materials than your calculated measurements to account for potential waste, complex cuts, and unexpected challenges during installation. This buffer will save you time and prevent frustrating work stoppages.
With your roof structure assessed and materials prepared, you are now ready to move forward to the next critical stage of roof removal and initial preparation.
Step 2: Remove Old Roofing and Repair Decking
Removing old roofing and repairing the underlying deck is a critical phase that ensures the structural integrity and long-term performance of your new roof. This process requires careful technique, proper safety precautions, and a methodical approach to stripping existing materials and addressing any underlying damage.
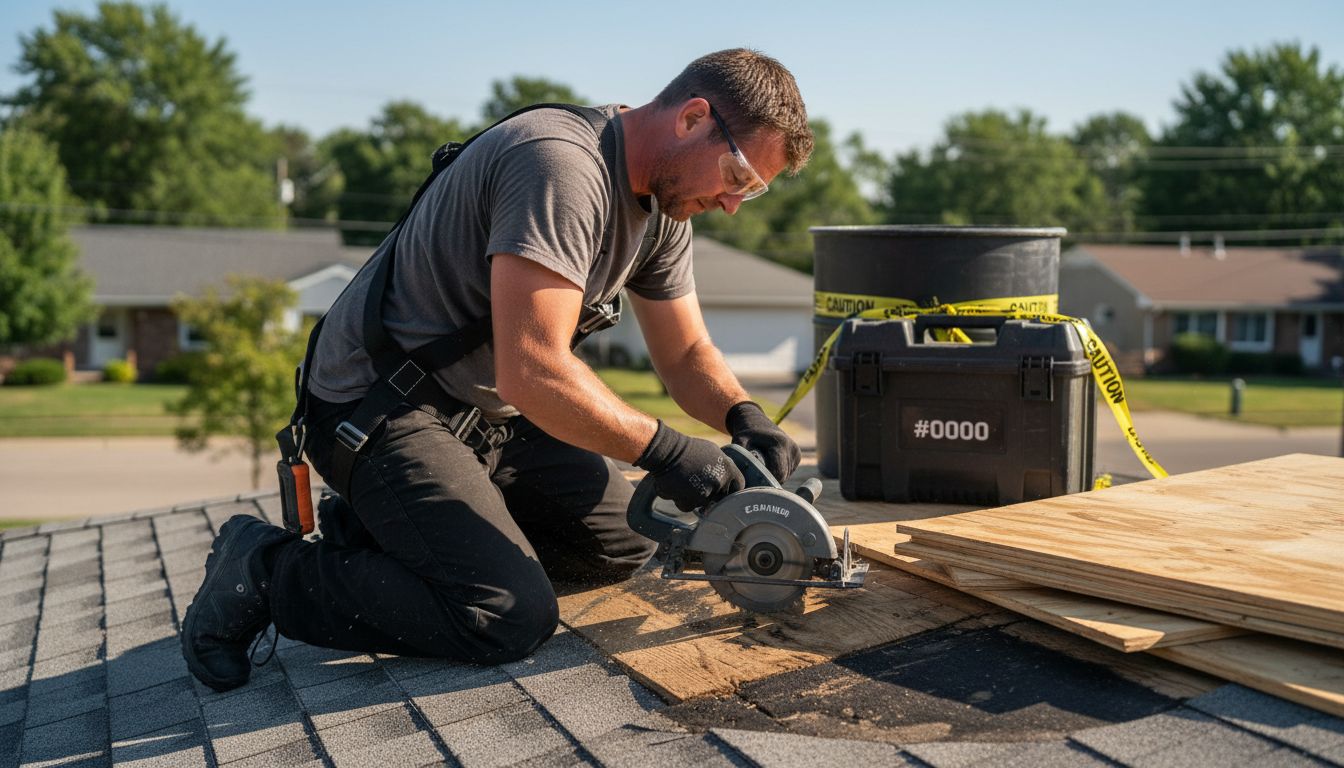
According to Fine Homebuilding, the first step is to systematically remove old shingles and roofing materials using specialized tools. Start by using a roofing shovel or specialized removal tool to carefully pry up and strip away existing shingles, working from the top of the roof downward. As you remove materials, inspect the roof deck closely for signs of water damage, rot, or structural weakness. Sheffield Metals recommends carefully examining each section of plywood or OSB sheathing for soft spots or areas that require complete replacement.
For decking repair, remove any damaged sections by cutting out compromised plywood using a circular saw set to the precise depth of the sheathing. Replace damaged sections with new plywood that matches the thickness of the existing deck, ensuring a smooth and level surface. Secure new decking panels with galvanized nails or wood screws, making sure they are tightly fastened and create a uniform surface. When possible, stagger the seams of replacement panels to distribute structural support evenly across the roof deck.
Pro tip: Always wear appropriate safety gear including non-slip shoes, safety harnesses, and eye protection during roof removal. Work carefully and systematically, and never rush the decking inspection and repair process.
With the old roofing removed and the deck repaired, you are now prepared for the next critical stage of roof installation.
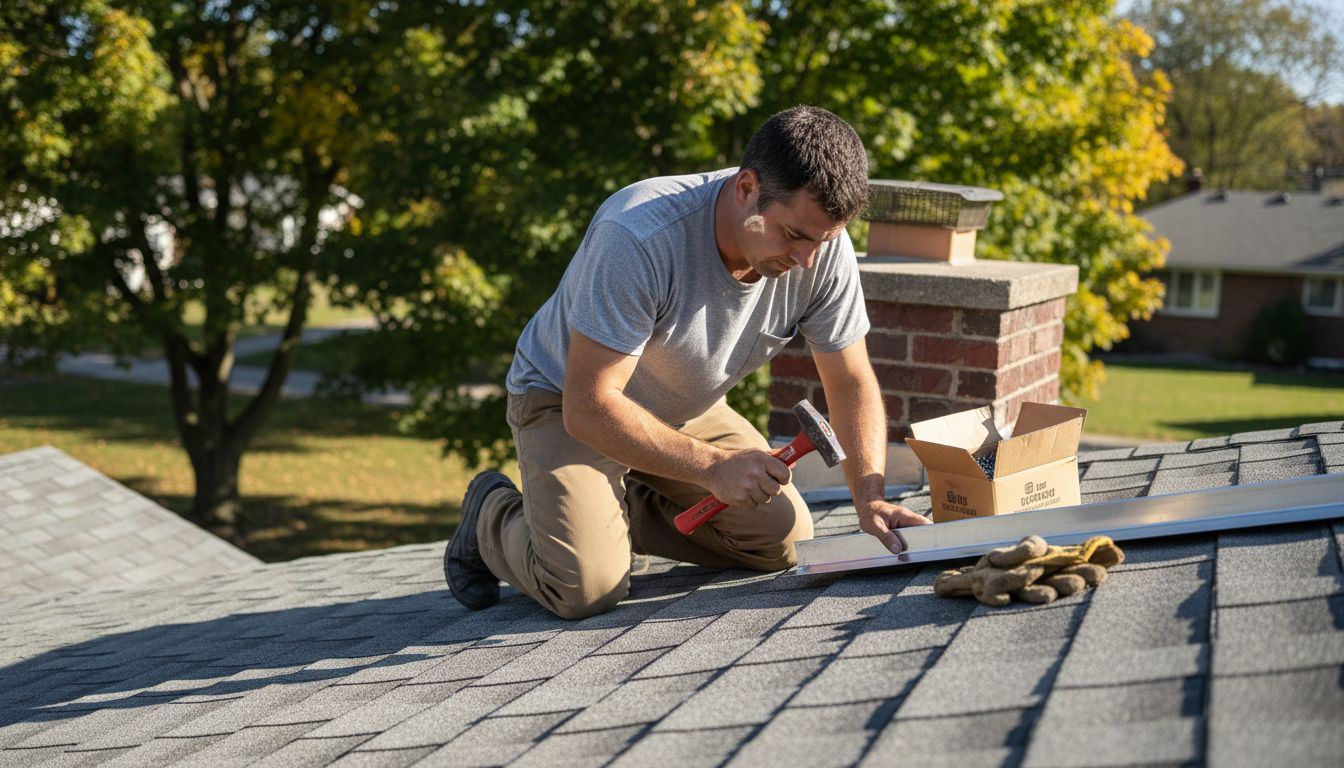
Step 3: Install Underlayment and Flashing
Installing proper underlayment and flashing is a crucial step in creating a watertight roofing system that protects your home from moisture damage and ensures long-term durability. This phase requires precision and careful attention to detail to establish a robust protective barrier beneath your final roofing materials.
Alpine Roofing recommends starting with an ice and water shield along the roof edges and in critical areas prone to water penetration such as valleys, chimneys, and roof intersections. Begin by rolling out the self-adhesive waterproof membrane, ensuring each section overlaps by at least 4 inches to create a continuous protective layer. Jackson Contracting emphasizes the importance of installing drip edge metal along the roof perimeter before applying the underlayment to direct water away from the roof deck and into the gutters.
For flashing installation, carefully cut and position metal flashing around all roof penetrations including chimneys, vents, skylights, and dormers. Use roofing cement to seal the edges of each flashing piece, creating a watertight seal that prevents moisture intrusion. Pay special attention to step flashing where roof planes meet vertical surfaces, overlapping each piece to ensure water cannot penetrate underneath.
Pro tip: When installing underlayment, work from the bottom of the roof upward, allowing each subsequent layer to overlap the previous one like shingles. This technique ensures water flows down and off the roof without finding entry points.
With underlayment and flashing securely in place, you are now ready to proceed to the next stage of your roofing installation.
Step 4: Lay and Secure New Roofing Material
Laying and securing new roofing material is the pivotal moment in your roof installation project where careful technique meets aesthetic precision. This critical stage transforms your prepared roof deck into a robust protective shield for your home, requiring methodical approach and expert attention to detail.
Begin at the bottom edge of the roof and work upward, laying shingles in horizontal rows called courses. Align the first row of shingles precisely along the drip edge, ensuring they are perfectly straight and level. Use roofing nails placed strategically about 1 inch above the cutout and approximately 1 inch from each edge of the shingle. For asphalt shingles, typically four to six nails per shingle will provide secure attachment depending on local wind zone requirements.
As you progress upward, each subsequent row should overlap the previous row by approximately 5 inches, creating a water shedding surface that prevents moisture penetration. Pay special attention to maintaining consistent alignment and avoiding gaps between shingles. For architectural or dimensional shingles, stagger the pattern to create visual depth and improve water resistance. Carefully trim shingles around roof features like vents, chimneys, and skylights using a sharp utility knife for precise cuts.
Pro tip: Always check local building codes for specific nailing requirements and recommended overlap measurements, as these can vary by region and roofing material type.
With your new roofing material securely in place, you are now ready to complete the final touches of your roofing installation. For additional guidance on selecting the best roofing options, check out our guide on roofing choices.
Step 5: Inspect Completed Roof for Quality
The final inspection of your newly installed roof is a critical step that ensures all your hard work translates into a durable, watertight roofing system. This comprehensive review serves as your quality assurance checkpoint, verifying that every component is properly installed and functioning as intended.
Jackson Contracting recommends a systematic approach to roof inspection, starting with a visual assessment of the overall roof surface. Look for uniform shingle alignment, consistent overlap, and absence of any visible gaps or irregularities. Check that all shingles are securely fastened with no lifting edges or exposed nail heads. Pay close attention to critical areas like roof valleys, edges, and around penetrations such as chimneys, vents, and skylights to ensure proper flashing and sealing.
Move through a detailed checklist that includes examining the roof from multiple angles. Use binoculars or carefully walk the roof surface to inspect for any subtle imperfections. Verify that drip edges are properly installed, gutters are securely attached, and there are no signs of potential water intrusion. Look for symmetry in shingle placement, checking that architectural or dimensional shingles create the intended visual pattern without disruptions.
Pro tip: Conduct your inspection during daylight hours and from different perspectives including ground level, ladder height, and directly on the roof surface to catch any potential issues that might be missed from a single vantage point.
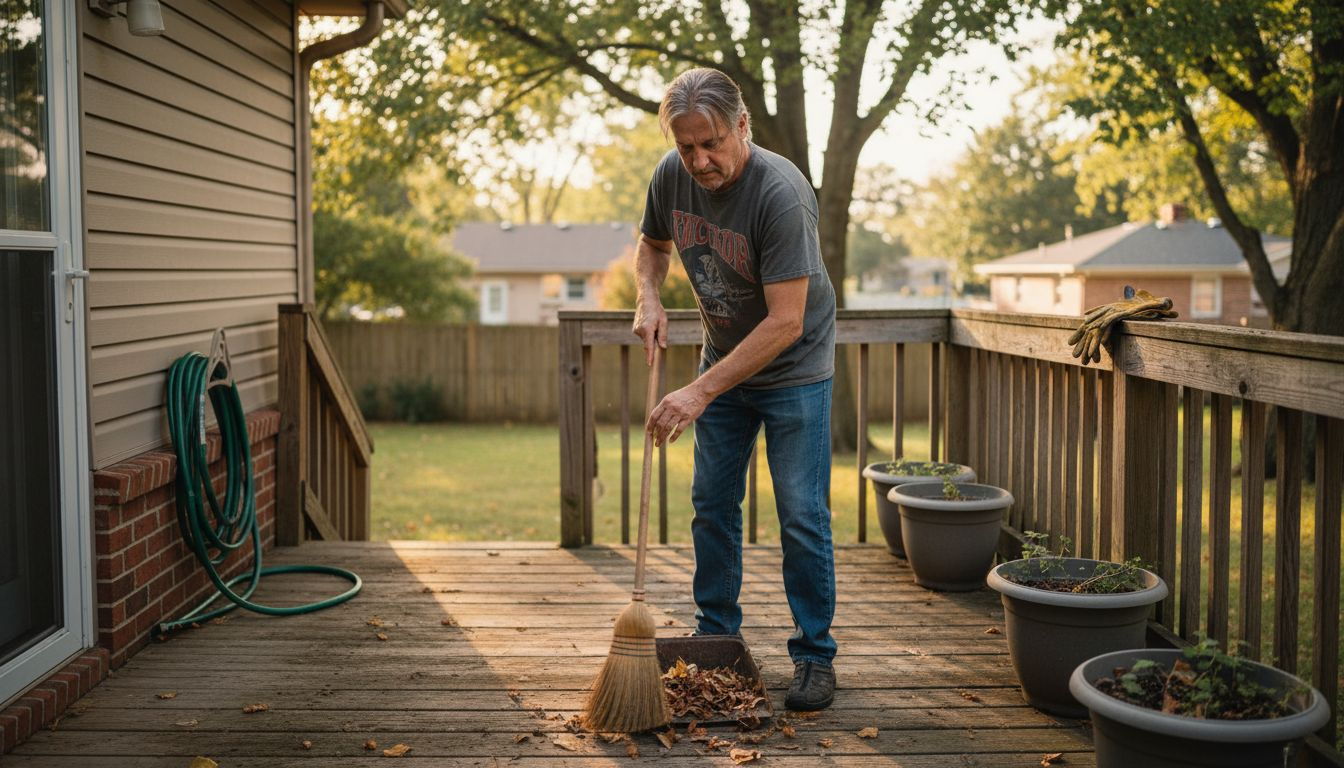
To maintain your new roof and catch potential issues early, check out our guide on essential roofing maintenance tips that will help you protect your investment for years to come.
![]()
Protect Your Home with Professional Roofing Expertise
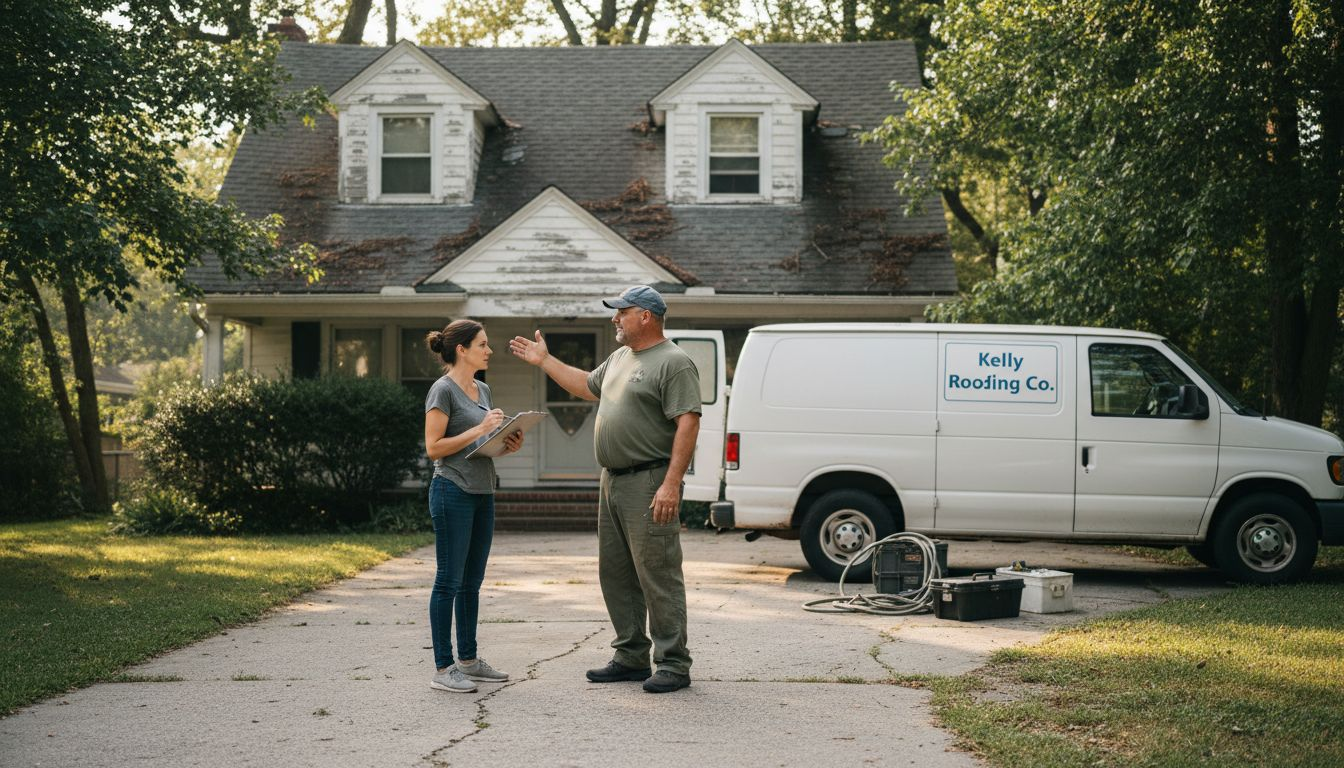
Facing the challenges of a roofing installation can feel overwhelming from assessing roof structure to securing new materials with precise nailing techniques. Whether you are worried about hidden deck damage or unsure about the best underlayment and flashing options, understanding the detailed steps is just the beginning. These complex tasks require more than careful preparation; they call for skilled craftsmanship to ensure your roof stands strong against weather and time.
Take the next step toward a durable and beautifully finished roof by trusting the experts at J. A. Kelly Contracting Services. Our team specializes in delivering high-quality roofing services in Moncton and surrounding areas, handling every detail from roof inspection to final guarantees. Visit our Roofing Archives – J. A. Kelly Contracting Services to learn more about our proven solutions. Ready to protect your investment and boost your home’s value? Contact us today through https://jakellycontractingservices.ca for a free estimate and expert advice you can count on.
Frequently Asked Questions
What initial steps should I take before starting my roofing installation?
Before starting your roofing installation, assess your existing roof structure for damage and gather necessary materials and equipment. Inspect for any signs of rot or weaknesses and measure the roof area accurately to determine the amount of material needed.
How do I safely remove old roofing materials?
Safely remove old roofing materials by using specialized tools like a roofing shovel or removal tool, starting from the top of the roof and working downward. Always wear safety gear such as a harness and non-slip shoes to prevent accidents during the removal process.
What is the purpose of underlayment and flashing in roofing?
Underlayment and flashing create a protective barrier that prevents moisture from penetrating your roof. Apply an ice and water shield around critical areas prone to leaks, and install flashing around penetrations like vents and chimneys to ensure a watertight seal.
How should I lay and secure new roofing material?
Lay and secure new roofing material by starting from the bottom edge and working upward, ensuring each row overlaps the previous one properly. Use the appropriate number of nails per shingle and check local building codes for specific requirements regarding nailing and overlaps.
What should I check during the final roof inspection?
During the final roof inspection, check for uniform shingle alignment, secure fastenings, and proper installation of flashing and drip edges. Confirm there are no visible gaps or irregularities and that areas prone to water intrusion are adequately protected.
How can I maintain my new roof after installation?
Maintain your new roof by conducting regular inspections and promptly addressing any potential issues, such as loose shingles or clogged gutters. Aim to check your roof at least twice a year, particularly after severe weather, to ensure its longevity and performance.
Recommended
- How to Hire a Roofing Contractor for a Stress-Free Project – J. A. Kelly Contracting Services
- 7 Essential Roofing Maintenance Tips Every Homeowner Should Know – J. A. Kelly Contracting Services
- What Is a Roofing Estimate? Complete Breakdown – J. A. Kelly Contracting Services
- Timely Roof Repairs: Complete Guide for Homeowners – J. A. Kelly Contracting Services